Новичок
Korean
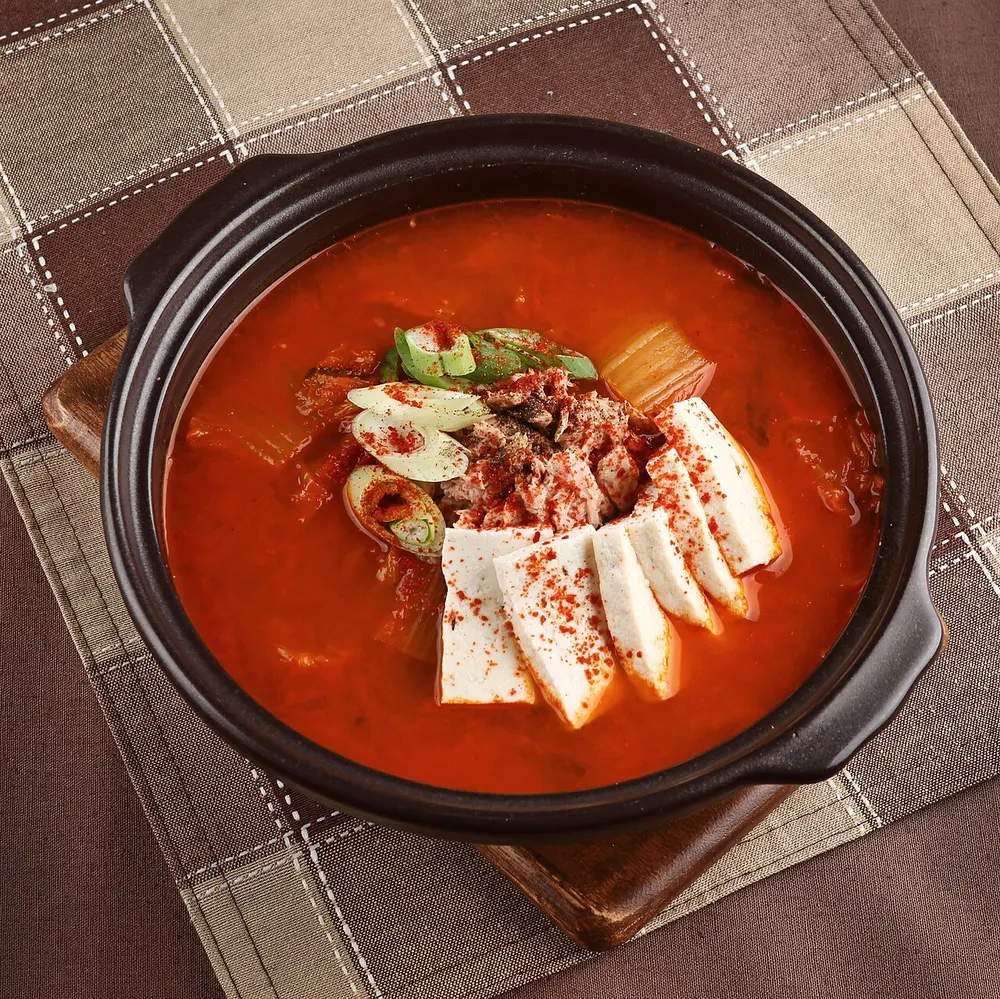
Kimchi Jjigae (Kimchi Stew)
Источник: Традиционное
30 мин3420 ккал
Без молочного🌶️🌶️
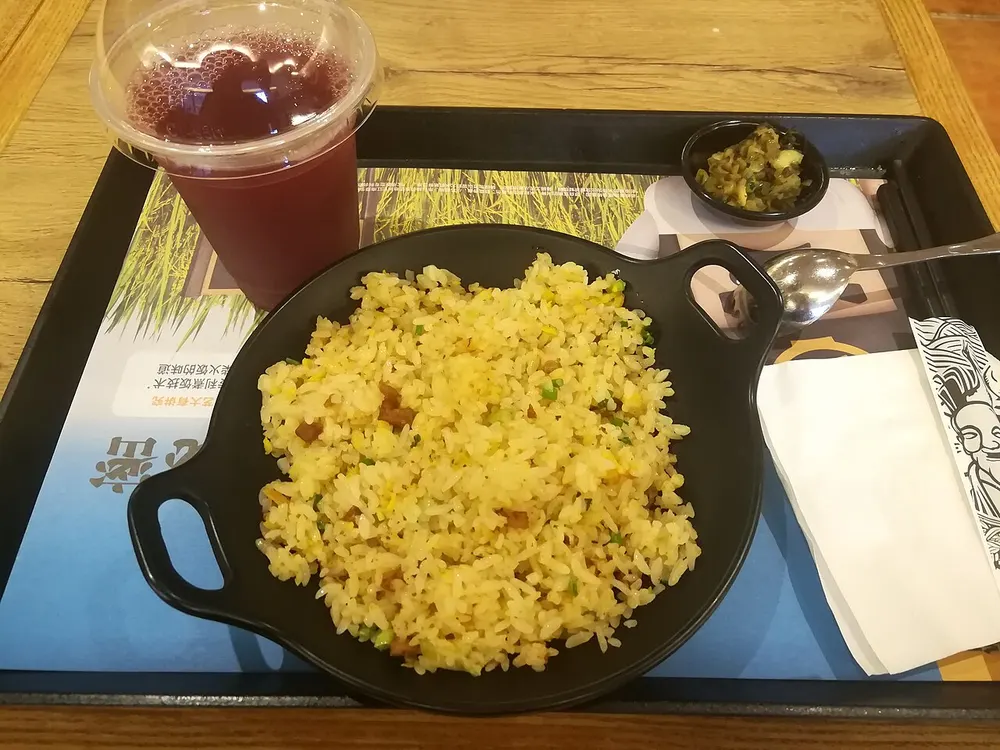
Every grain jacketed in egg before it ever meets heat, then poured into a cold pan and driven hard. Ten minutes, five ingredients, and rice that falls apart into separate golden grains.
Источник
Автор рецепта 승우아빠 (목진화) · 📱 Блогер · Korean cooking YouTuber and trained chef; studied culinary management in Canada and worked as a cook and food researcher before going full-time on YouTube
Имена поваров и авторов указаны только как ссылка на источник. More Recipes Please независима, не связана с ними, не одобрена и не спонсируется ими.
Write-up of a recipe 승우아빠 demonstrated on TV / 승우아빠가 방송에서 선보인 레시피 정리본 — Honest caveat: this is not a recipe 승우아빠 published himself. He demonstrated it on KBS's 편스토랑, and this is a write-up of that episode posted to 만개의레시피 by another user; we cross-checked it against a second, independent account of the same broadcast and every quantity matched. Distinctive: cold rice coated in egg, stock and oil before cooking, then poured into an unheated pan — a Chinese fried-rice technique in reverse order.
Повар: 승우아빠 (목진화)
Смотри, как это готовят
Get your rice cold. Use rice that has been in the fridge, or an instant pack straight from the cupboard — do not microwave it.
💡 This is the one rule you cannot bend. Warm rice starts cooking the egg on contact, and instead of a coating you get scrambled egg with rice in it.
Crack the 2 eggs into a bowl big enough to hold the rice as well.
Add the 2 teaspoons of chicken stock powder — this is the only seasoning in the dish, so measure it rather than eyeball it.
Add the 3 teaspoons of cooking oil, and the two drops of cooking wine if you are using it.
💡 The oil goes into the egg, not the pan. That is what lets each grain slide free later instead of clumping.
Whisk until the stock powder has dissolved and the mixture is one even yellow with no clear streaks of white.
Tip the cold rice in and break up the clumps with a spoon.
Stir until it looks like a loose egg porridge and every grain is wet and yellow.
Let it sit for 1 to 2 minutes so the coating settles onto the grains.
Finely chop the chives while it rests — have them within arm's reach of the stove, because once the pan is going there is no time to stop and cut.
Pour the whole mixture into a cold, unheated pan. No oil, no preheating.
💡 This feels wrong and it is meant to. Starting cold lets the egg set gradually around each grain instead of seizing instantly against hot metal.
Only now turn the heat to high, and pick up your chopsticks before it starts to catch.
Stir without stopping, using chopsticks, and keep the rice moving around the pan. Over roughly 3 to 4 minutes it goes from porridge-like to separate, dry, golden grains.
💡 If you stop stirring even briefly the bottom scorches, because there is no layer of oil in the pan protecting it. Chopsticks separate the grains better than a spatula.
Listen for a dry crackling from the pan, like small twigs on a fire — that sound means the moisture has driven off and the rice is done.
Scatter in the chives, stir for 30 more seconds, then kill the heat immediately and plate it.
Korean
Источник: Традиционное
Korean
Источник: Домашняя кухня
Korean
Источник: Домашняя кухня
Korean
Источник: Традиционное
Приготовил? Поделись фото в галерее.
Покажи своё блюдо →