Người mới
Korean
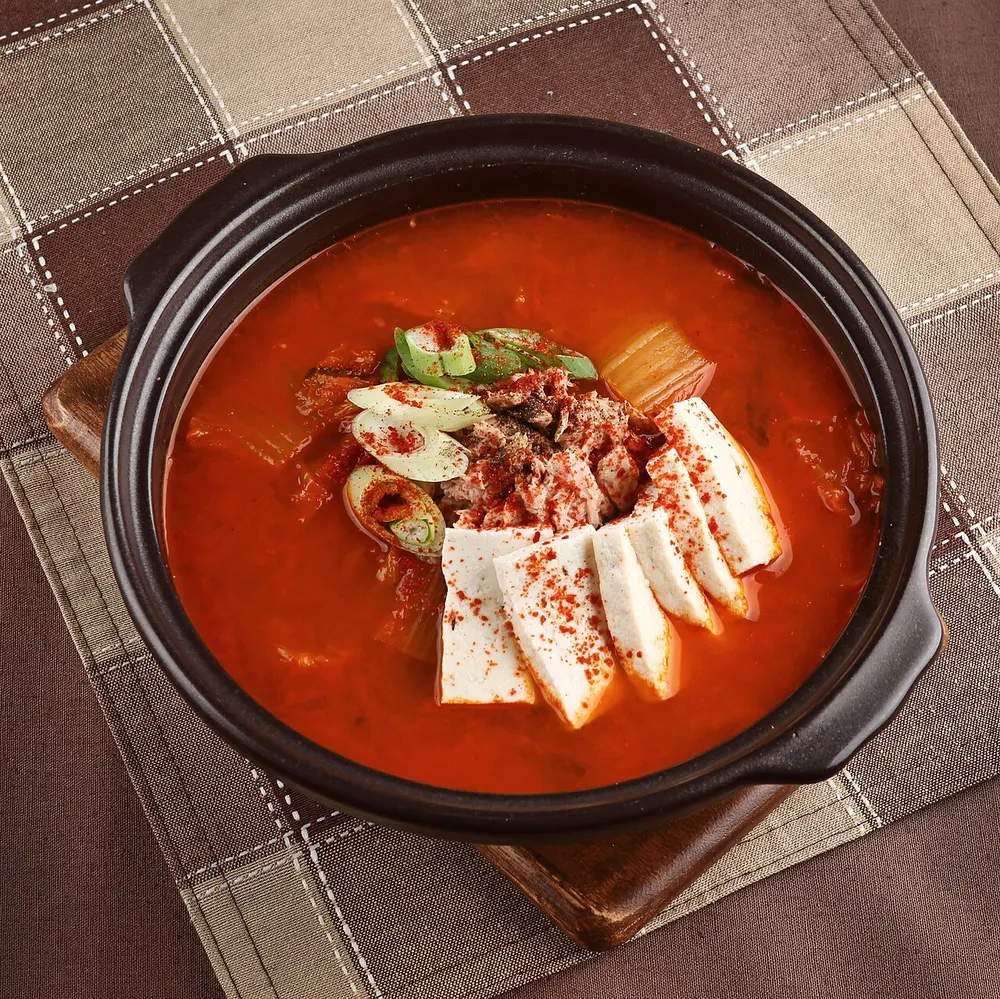
Kimchi Jjigae (Kimchi Stew)
Nguồn: Truyền thống
30 phút3420 kcal
Không sữa🌶️🌶️
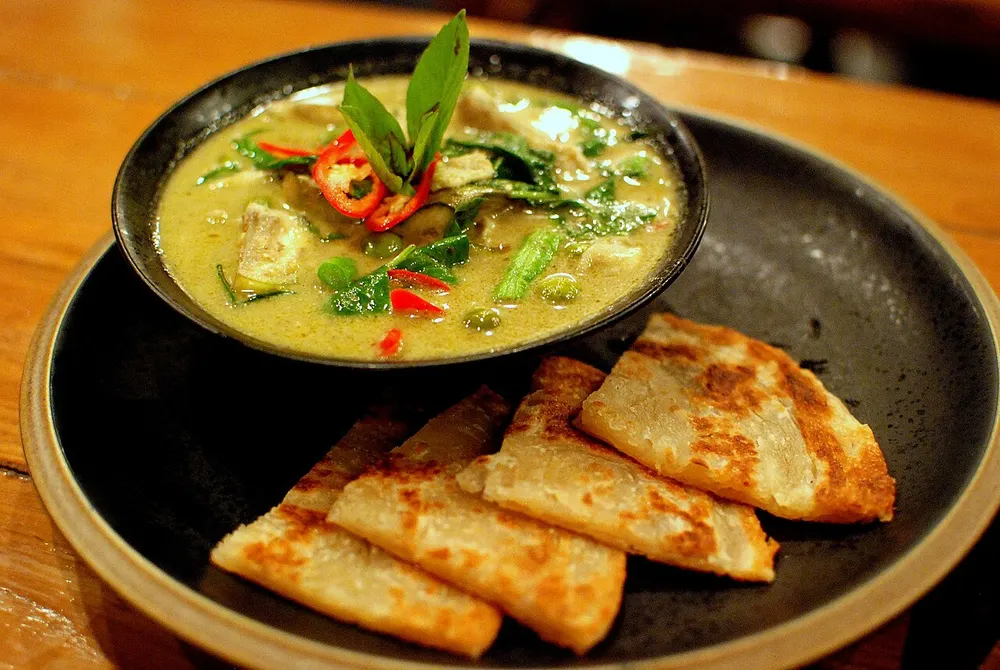
The curry that starts by frying paste in coconut cream until the fat splits out and turns green-gold. Chicken, Thai aubergines and a fistful of sweet basil go in after — and it is finished, not started, with the lime leaves.
Nguồn
Công thức của Central Thai home kitchens · 🏺 Truyền thống · Household cooking of the Chao Phraya plain — the Bangkok-centred style most of the world means by 'Thai food'
Central Thai · traditional dish — An ownerless traditional dish, so no cook is credited. The cited article places green curry in central Thailand and dates its development to the reign of Rama VI or Rama VII, between 1908 and 1926. It confirms that the colour comes from green chillies, that the name kaeng khiao wan reads as 'sweet-green' where the 'sweet' refers to the pale green colour rather than the taste, and lists the defining components — coconut milk, green curry paste, palm sugar, fish sauce, Thai and pea aubergines, basil — along with a paste built on green bird's eye chillies, shallot, garlic, galangal, lemongrass, kaffir lime peel, coriander root, cumin, white pepper and shrimp paste. It also records fish, fish balls and meat as traditional proteins. Quantities and method here are this book's own.
Watch it being made · 3 videos
Open the tins without shaking them and spoon the thick cream off the top into a wide pan — you want about 150 ml. Keep the thin milk underneath for later.
💡 Chill the tins for an hour first and the cream separates cleanly. If your brand refuses to separate, use 150 ml straight from the tin and just cook it longer in step 2.
Cook the cream over medium heat until it thickens and clear oil starts to pool at the edges, 3–5 minutes. Add the curry paste and fry it in that oil for another 3 minutes, pressing and smearing it around the pan.
💡 Thai cooks call this 'cracking' the coconut cream. It is the single step that separates a real green curry from paste stirred into soup — do not rush it, and do not add liquid until the oil has actually appeared.
Add the chicken and turn it in the fried paste until every piece is coated and the outside has gone opaque, about 3 minutes.
Pour in the remaining thin coconut milk, bring it to a gentle simmer, and add the Thai aubergines. Cook uncovered for 10 minutes, until the aubergines are tender but still holding their shape.
💡 Keep it at a lazy simmer. A hard boil splits the coconut milk and the curry turns grainy.
Add the pea aubergines and cook 3 minutes more, then season with fish sauce and palm sugar. Taste it now, while you can still fix it.
Turn the heat off and stir through the torn lime leaves, the basil and the sliced red chilli. The residual heat is enough to wilt the basil — anything more and it blackens.
💡 Lime leaves added at the start go bitter and leathery; added at the end they are the brightest thing in the bowl.
Serve in a shallow bowl beside a mound of jasmine rice — not poured over it, so the rice stays separate and the curry stays hot.
Korean
Nguồn: Truyền thống
Korean
Nguồn: Món nhà làm
Korean
Nguồn: Món nhà làm
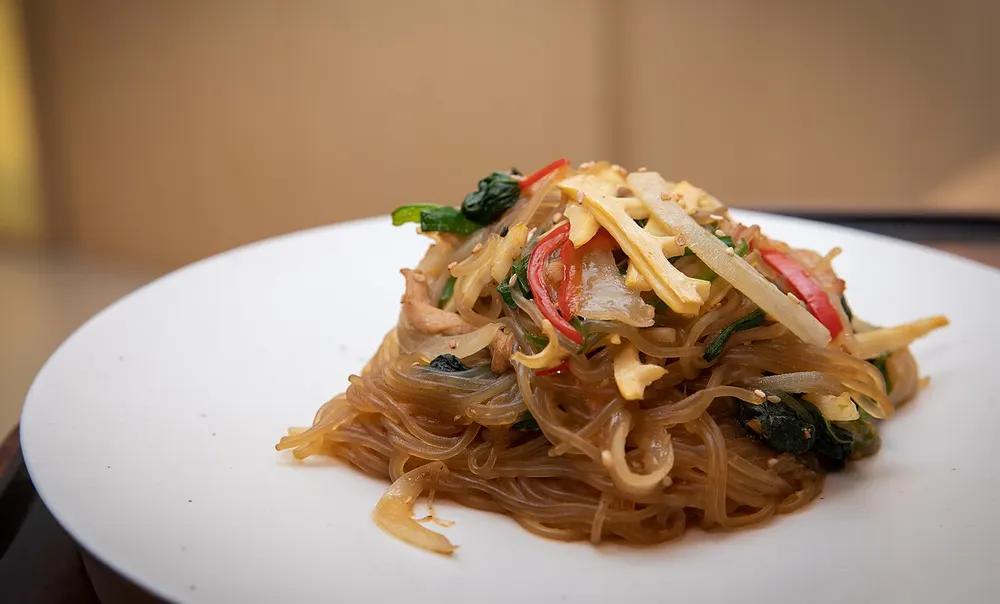
Korean
Nguồn: Truyền thống
Đã làm món này? Chia sẻ ảnh ở mục Khoe món.
Chia sẻ món bạn làm →