初級
Turkish
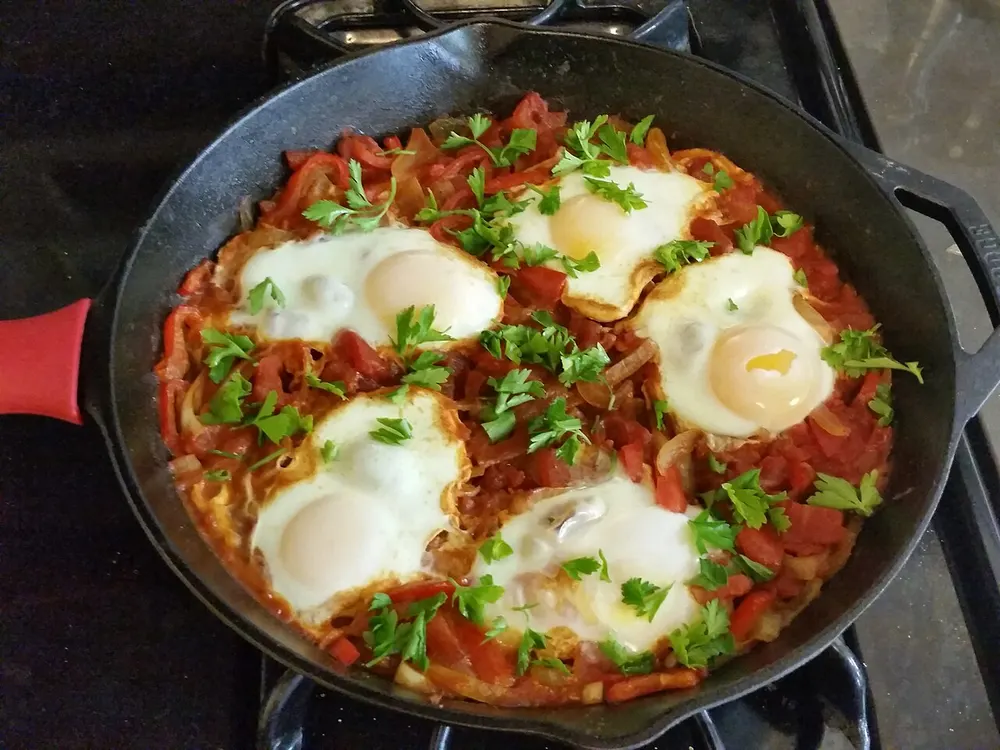
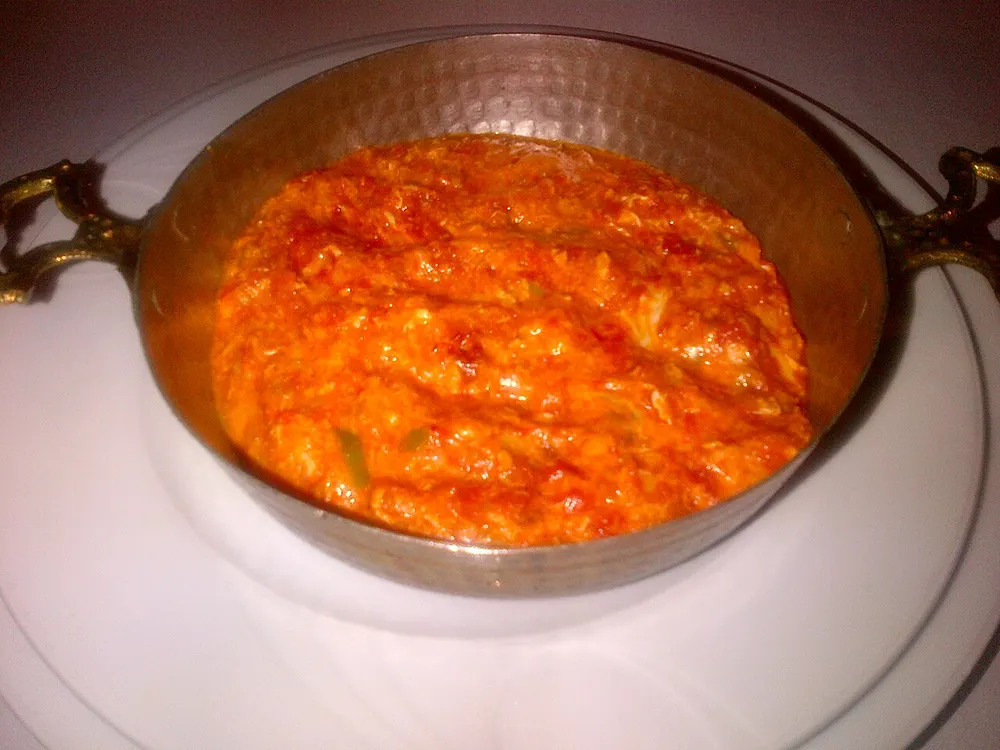
Menemen (Turkish Scrambled Eggs)
出典: 家庭料理
20 分2260 kcal
ベジタリアングルテンフリーハラール🌶️
The Ottolenghi Test Kitchen's method for hummus that is genuinely smooth: bicarbonate of soda in the soak and the pot, skins rubbed off and thrown away, and the chickpeas blitzed while still warm with ice cubes.
出典
レシピ提供 Yotam Ottolenghi & Noor Murad · 👨🍳 シェフ · Israeli-born, London-based chef and restaurateur, and the head of his Ottolenghi Test Kitchen — co-authors of the OTK books
料理人・クリエイターの名前は出典表記としてのみ使用しています。More Recipes Please は独立して運営されており、提携・後援・推奨の関係はありません。
Ottolenghi Test Kitchen (ottolenghi.co.uk) — Published on Ottolenghi's own site, where the page links it to the Ottolenghi Test Kitchen book Shelf Love and introduces it off the back of an 'ode to hummus' written by Noor Murad, who heads the test kitchen. Three things define their method: bicarbonate of soda twice (in the overnight soak and again in the pot) to break the chickpeas down, physically removing and discarding the skins, and blitzing the chickpeas while they are still warm together with 25g of ice cubes. They give tahini as a range, 120–150g, rather than a fixed weight, because brands differ so much.
料理人: Yotam Ottolenghi & Noor Murad
Watch it being made · 2 videos
The night before: soak the 200g of dried chickpeas in plenty of cold water with ¾ teaspoon of bicarbonate of soda.
💡 The bicarb makes the water alkaline, which loosens the chickpea skins and helps them break down. It appears twice in this recipe — once here in the soak, once in the pot — and both matter.
The next day, drain the chickpeas well and tip them into a medium saucepan with a lid, along with the ½ teaspoon of bicarbonate of soda and enough water to cover them by about 4cm.
Bring to a simmer over medium-high heat, skimming the scum off the surface as it rises.
Turn the heat down to medium-low, put the lid on and simmer anywhere from 30 to 50 minutes — check them at the 20-minute mark, because it varies enormously with the age of your chickpeas.
💡 Do not aim for 'cooked'. Aim for falling apart — a chickpea should collapse to paste with almost no pressure between your fingers. This is the single biggest difference between silky hummus and gritty hummus.
For the last 15 minutes of cooking, salt the water well and add the pinch of cumin. Keep cooking until the chickpeas are very soft.
Using a slotted spoon or spider, agitate the chickpeas with a gentle shake so the loosened skins float up. Skim the skins off and throw them away. Don't fret about catching every last one.
💡 Skins are cellulose and a blender cannot break them down — they are what you feel as tiny specks in mediocre hummus. This is the tedious step everyone skips and then wonders why theirs isn't smooth.
TINNED CHICKPEA ROUTE (skip if you cooked dried ones): spread the drained tinned chickpeas between two tea towels and rub the towels together vigorously for a few minutes — firmly, but not hard enough to crush them. Lift the top towel and discard the skins that have come free.
💡 Odd as it looks, the friction works. This is the shortcut when you have no overnight soak in you.
Still on the tinned route: put the peeled chickpeas in a saucepan with enough water to cover, 1 teaspoon of salt and a pinch of cumin, and simmer for 15 minutes until soft.
Drain the chickpeas over a bowl and KEEP the cooking water.
💡 That cloudy, starchy water is the only thing you should ever use to loosen hummus. Plain water dilutes the flavour; more oil makes it greasy; the chickpea water thins it while keeping it creamy.
Tip the still-WARM chickpeas into a food processor with 120g of tahini, the crushed garlic, 1½ tablespoons of lemon juice, the ice cubes (25g worth), 2 tablespoons of the reserved chickpea water and a good pinch of salt.
Blitz until more or less smooth, then stop and taste it properly.
💡 Warm chickpeas purée far finer than cold ones, and the ice keeps the mixture cool through several minutes of blitzing while whipping air in — which is why the result comes out pale and fluffy rather than dense and beige.
Now adjust. You will likely need more tahini, and quite possibly more garlic, lemon, salt — and almost certainly more chickpea water. Add a little of each at a time.
💡 The recipe gives a tahini range of 120–150g on purpose: brands differ so much in thickness and bitterness that a fixed number would be a lie. Be generous — under-tahini'd hummus tastes flat and pasty.
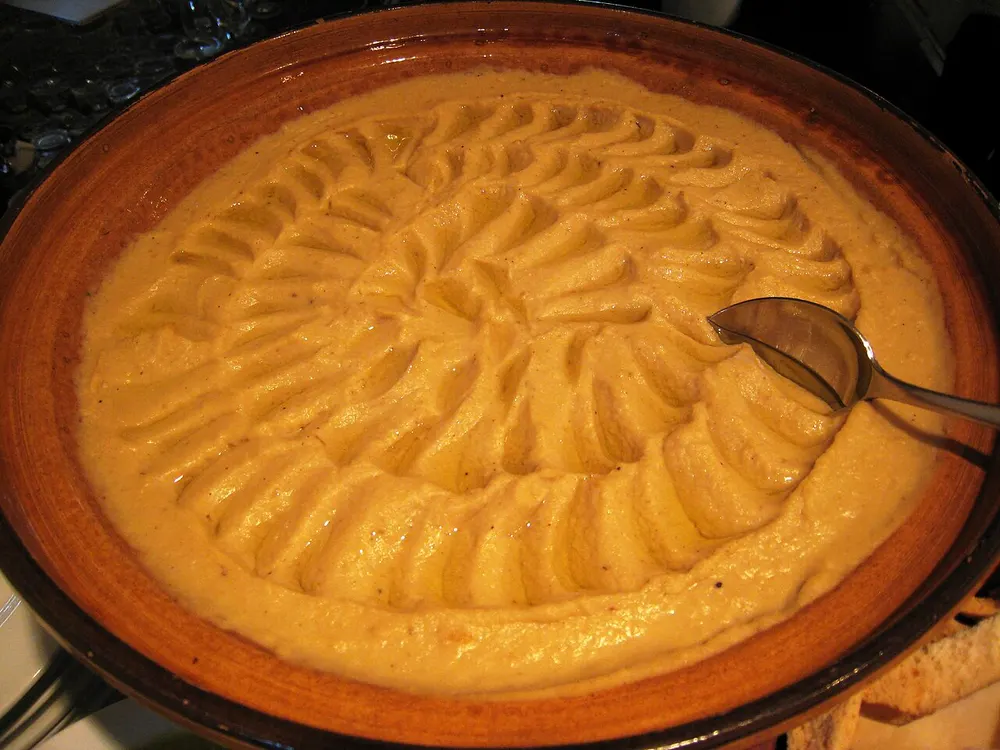
Blitz again until VERY smooth — a few minutes at least, longer than feels necessary. If it looks loose, leave it: it firms up as it sits.
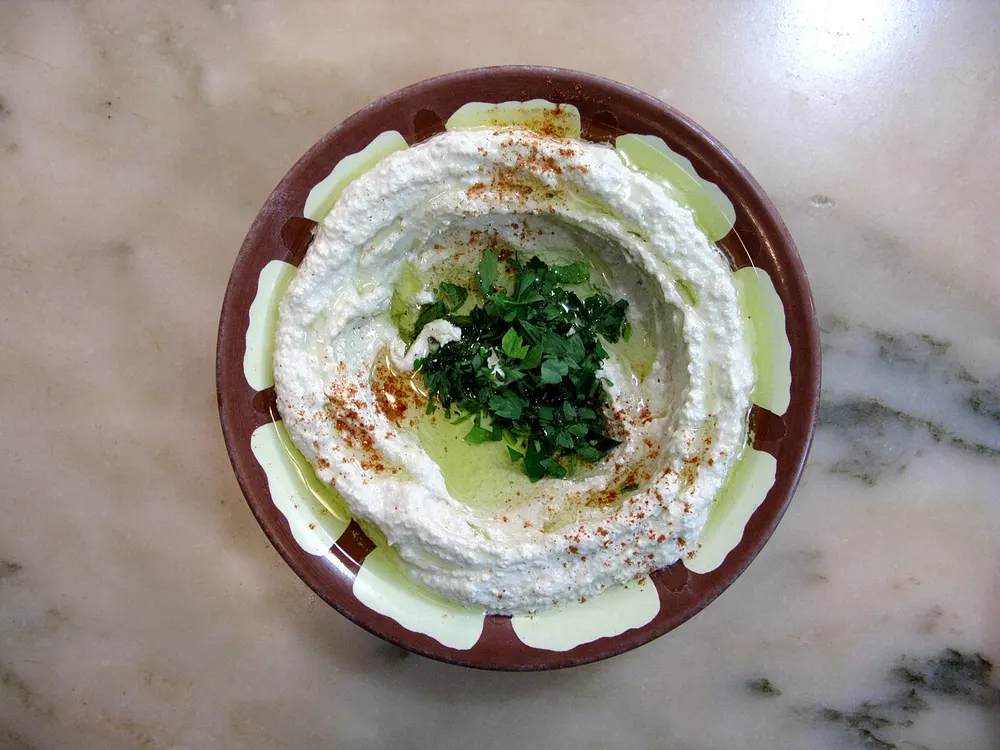
Spread it into a shallow bowl, sweeping a well into the centre with the back of a spoon. Pour a generous glug of olive oil into the well and top as you like — warm chickpeas and garlic, herbs, toasted nuts. It keeps, sealed, in the fridge for up to 2 days.
作ってみましたか?写真を「作ってみた」に投稿してください。
あなたの作品をシェア →