Pemula
Korean
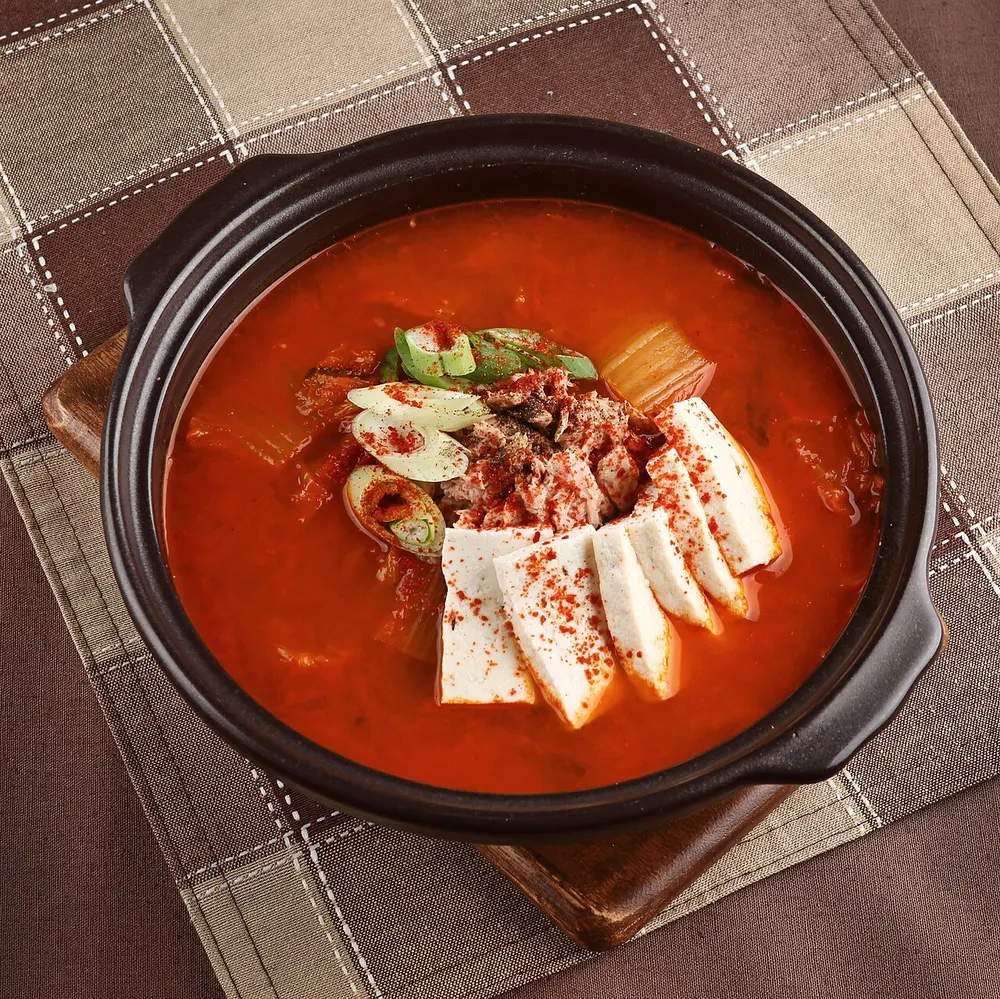
Kimchi Jjigae (Kimchi Stew)
Sumber: Tradisional
30 mnt3420 kkal
Bebas susu🌶️🌶️
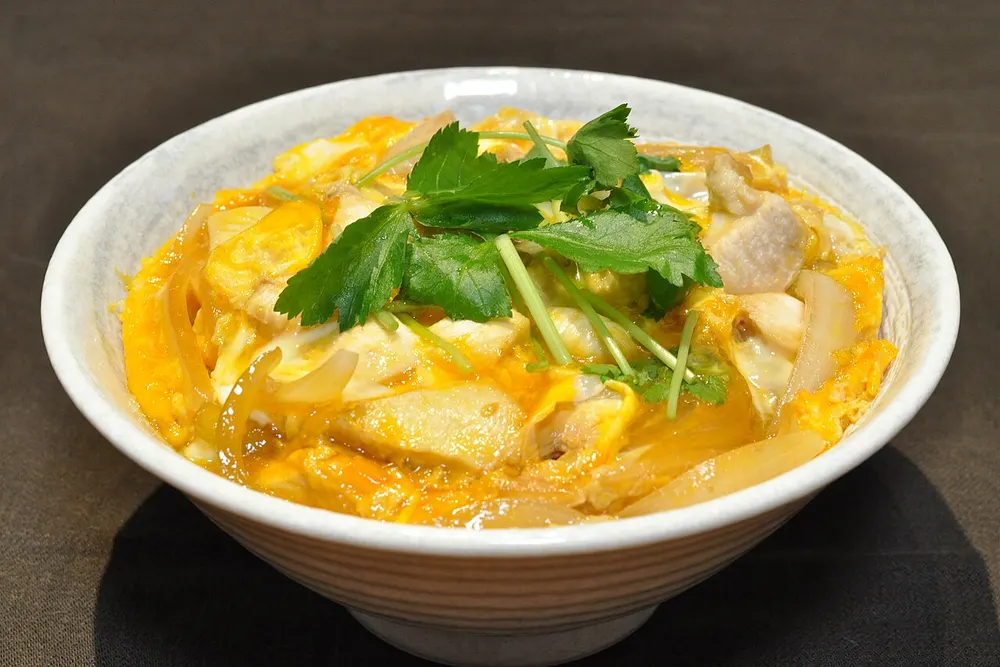
He cracked 100 eggs working this one out. Katsuobushi goes in the microwave for 30 seconds so it crumbles to instant dashi powder, the chicken skin is crisped first, and the egg goes in twice.
Sumber
Resep oleh リュウジ · 📱 Influencer · Ryuji — cooking researcher (料理研究家) and YouTuber behind 料理研究家リュウジのバズレシピ, Japan's biggest cooking channel at ~5.6M subscribers. Known for fast, exactly-measured home recipes.
Nama juru masak dan kreator hanya dicantumkan sebagai kredit sumber. More Recipes Please independen dan tidak berafiliasi, tidak didukung, serta tidak disponsori oleh mereka.
Ryuji (バズレシピ) — Published by リュウジ on his own YouTube channel as 【シン・親子丼】, where he says he broke 100 eggs developing it. The description carries his full ingredient list and his method — including the exact 50-second lid time — as text, and that is the source of every quantity here. Three things set his version apart from a standard oyakodon: he microwaves the katsuobushi for 30 seconds and crushes it to powder so it dissolves into the sauce instead of being brewed and strained as a dashi; he crisps only the skin side of the chicken before the sauce goes in; and he adds the two eggs in two separate stages so the bottom sets while the top stays half-runny.
Koki: リュウジ
Watch it being made · 2 videos
Put the 3 g of katsuobushi on a plate and microwave it for 30 seconds.
💡 This drives off the last of the moisture so the flakes go brittle. Watch it — katsuobushi is paper-thin and will scorch if your microwave runs hot.
Rub the warm flakes between your fingers until they collapse into a coarse powder. Set aside.
💡 This is the shortcut the whole recipe hangs on: powdered katsuobushi dissolves straight into the sauce, so you get dashi flavour without brewing and straining a stock. Do it while warm — cooled flakes go leathery again.
Slice the quarter onion (60 g) thinly, and cut the chicken thigh (120 g) into bite-size pieces, keeping the skin on.
Set a small pan over medium-high heat and lay the chicken in skin-side down, dry — no oil.
💡 The skin renders its own fat — adding oil just makes the dish greasy. A cold pan works fine here too; the fat comes out more gently.
Sear 2–3 minutes, until the skin is browned and audibly crisp. Only the skin side — do not turn the pieces over.
💡 He is explicit that only the skin gets crisped: the flesh finishes by simmering in the sauce a moment later, and searing both sides would leave it tight and dry.
Add the sliced onion, the soy sauce (大さじ1と小さじ1 / 20 ml), mirin (大さじ2と小さじ1 / 35 ml), water (大さじ2 / 30 ml), the katsuobushi powder and 3 shakes of Aji-no-moto.
Drop the heat to low and simmer until the onion is soft and translucent — about 4–5 minutes. The liquid should barely tremble.
💡 Low heat matters more than it looks: there is only 30 ml of water in the pan, and a hard boil will cook the sauce away before the onion is anywhere near soft.
Beat one egg loosely — just a few strokes, so streaks of white and yolk still show — and pour it over the pan in a spiral.
Cover and cook on low for exactly 50 seconds.
💡 He gives this timing precisely. The lid traps steam and sets this first egg from above — it becomes the layer that holds the bowl together, so it needs to be firmer than the second.
Beat the second egg the same loose way, pour it over, scatter the mitsuba on top, and cover again.
Cook on low just until the second egg is half-set — glossy, still wobbling, no longer liquid. Roughly 30–40 seconds.
💡 This is the step that separates his bowl from a diner one. Pull it while it still looks slightly underdone: the residual heat plus the hot rice underneath keep cooking it after you plate. Waiting for it to 'look ready' in the pan means eating it set.
Slide the whole thing, egg-side up, onto the 200 g of hot rice in a bowl.
Eat straight away, with shichimi at the table for anyone who wants it.
Korean
Sumber: Tradisional
Korean
Sumber: Masakan rumahan
Korean
Sumber: Masakan rumahan
Korean
Sumber: Tradisional
Sudah coba bikin? Bagikan fotonya di Etalase.
Bagikan hasil masakanmu →