Pemula
Korean
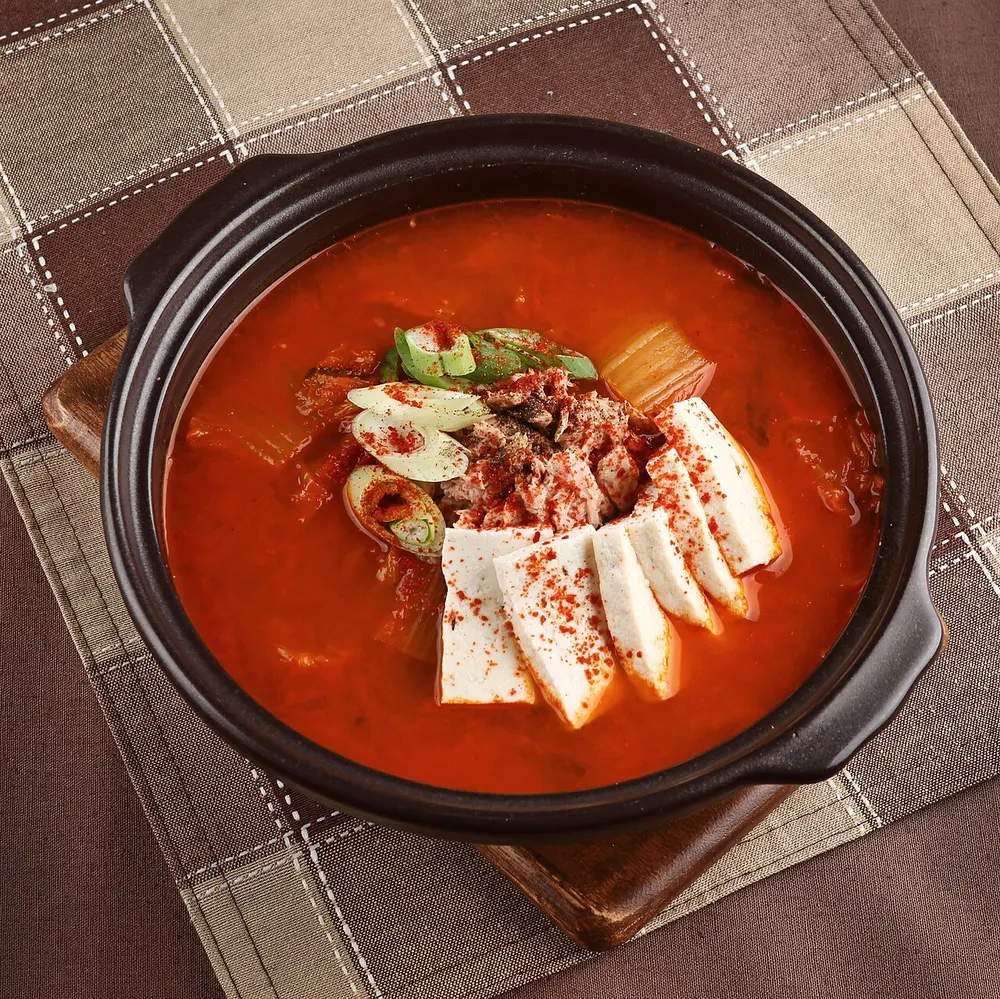
Kimchi Jjigae (Kimchi Stew)
Sumber: Tradisional
30 mnt3420 kkal
Bebas susu🌶️🌶️
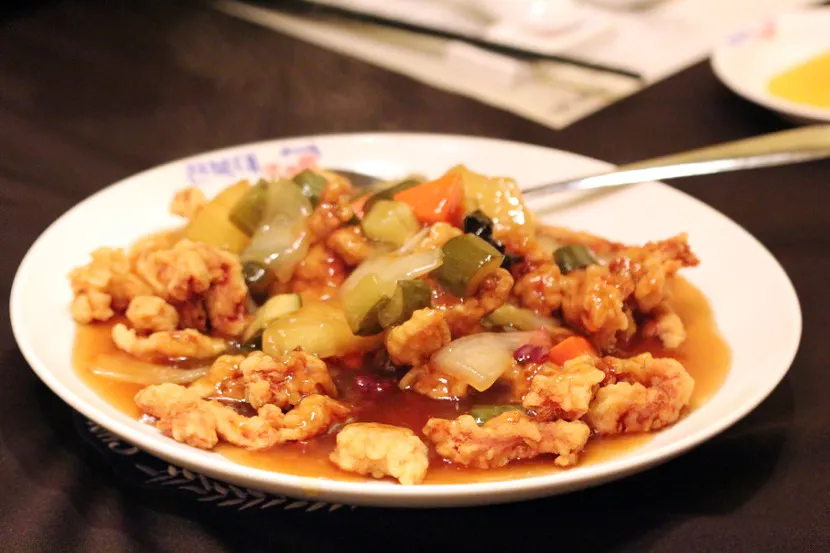
A batter with no flour in it at all — just starch soaked, settled and drained, then loosened with oil to the thickness of mayonnaise. It fries into a shell that stays crisp long after the sauce hits it.
Sumber
Resep oleh 꿀키 (Honeykki) · 📱 Influencer · Korean cooking YouTuber known for quiet, high-craft videos; publishes her recipes in Korean and English in each description
Nama juru masak dan kreator hanya dicantumkan sebagai kredit sumber. More Recipes Please independen dan tidak berafiliasi, tidak didukung, serta tidak disponsori oleh mereka.
Recipe published by Honeykki / 꿀키가 공개한 레시피 — Honeykki publishes this recipe in full, in both Korean and English, in the video's description. She states plainly that she adapted the batter from Korean-Chinese chef Lee Yeon-bok — using starch instead of flour — and that she pours the sauce over rather than stir-frying it through, which is her own change.
Koki: 꿀키 (Honeykki)
Watch it being made · 2 videos
Cut the pork loin into strips about as thick as your finger and season lightly with salt and pepper.
💡 Honeykki points out that with genuinely fresh pork you can skip the seasoning altogether — the sauce carries the dish anyway.
Put the sweet potato starch and corn starch in a bowl, pour over the 2 cups of water, stir, and leave it to stand for 30 minutes.
The starch sinks and packs into a dense layer, leaving clear water sitting on top. Tip that water off and throw it away.
💡 What is left at the bottom looks like wet cement and feels solid — that is correct. This hydrated starch is the whole point of the method.
Pour the 80 ml of oil into the wet starch a little at a time, working it in until the batter slackens to the thickness of mayonnaise.
💡 Add the oil all at once and it will sit on top in a slick instead of combining. Go slowly — it comes together suddenly near the end.
Add the pork and turn it through the batter until every strip is coated.
Heat the frying oil to 170–180°C. Drop in a bead of batter to check: it should sink slightly, then rise quickly with steady bubbles around it.
Lower the pork in piece by piece, leaving space between them, and fry for 4 to 5 minutes until pale gold and crisp.
💡 Crowding the pan drops the oil temperature and the coating turns soggy instead of crisp. Fry in two or three batches.
Lift the pork out onto a rack and let it drain while you make the sauce.
Put the 300 ml water, the soy sauce, sugar and vinegar into a pot and bring it to a boil over medium-high heat.
Once it is boiling, add the carrot, cucumber and onion and cook them for only about a minute — they should stay crunchy.
Stir the slurry again so it is not settled, then pour it in gradually while stirring.
In about 30 seconds the sauce turns clear, glossy and lightly thick — thick enough to coat a spoon but still pourable. Stop there.
💡 Add the slurry gradually and stop when it looks right — pour it all in at once and you get a gluey sauce you cannot rescue.
Pile the fried pork onto a serving plate in a single loose layer, not a deep heap — trapped steam softens the shell.
Pour the sauce over the top and serve straight away.
Korean
Sumber: Tradisional
Korean
Sumber: Masakan rumahan
Korean
Sumber: Masakan rumahan
Korean
Sumber: Tradisional
Sudah coba bikin? Bagikan fotonya di Etalase.
Bagikan hasil masakanmu →