Beginner
Korean
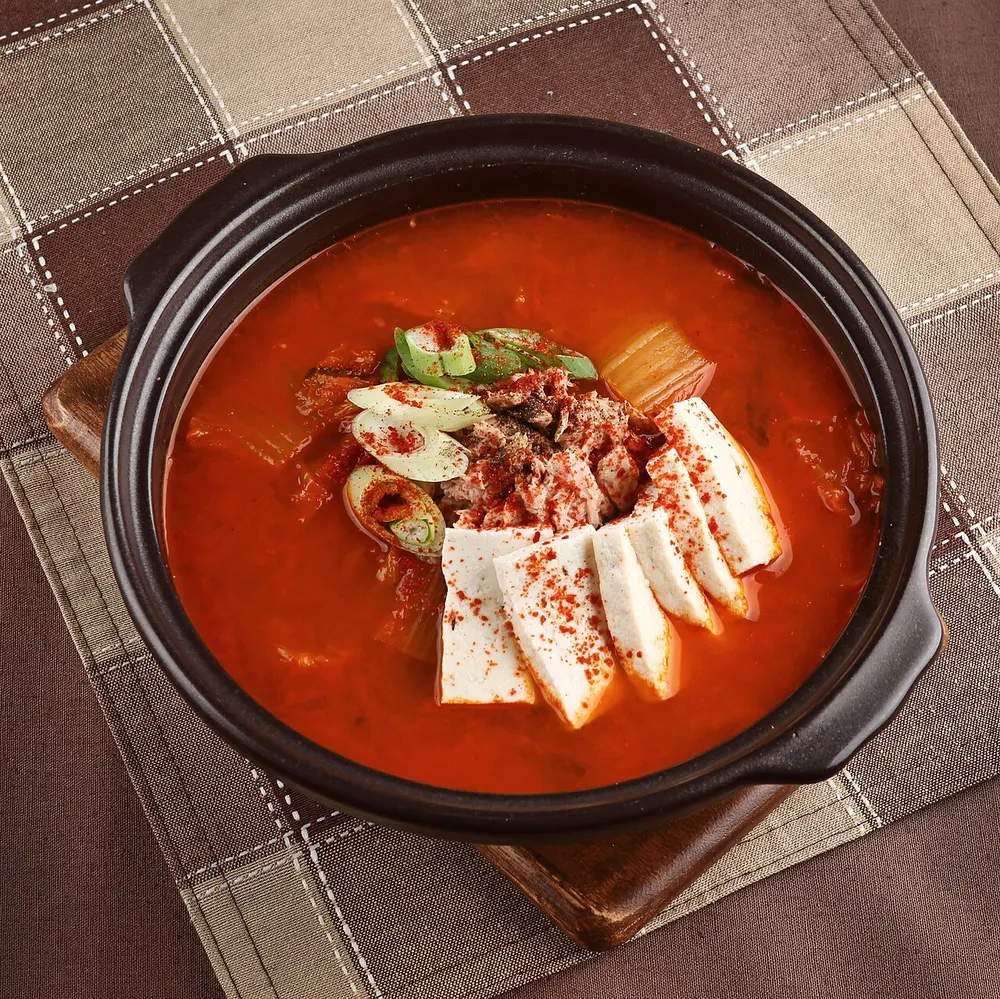
Kimchi Jjigae (Kimchi Stew)
Source: Traditional
30 min3420 kcal
Dairy-free🌶️🌶️
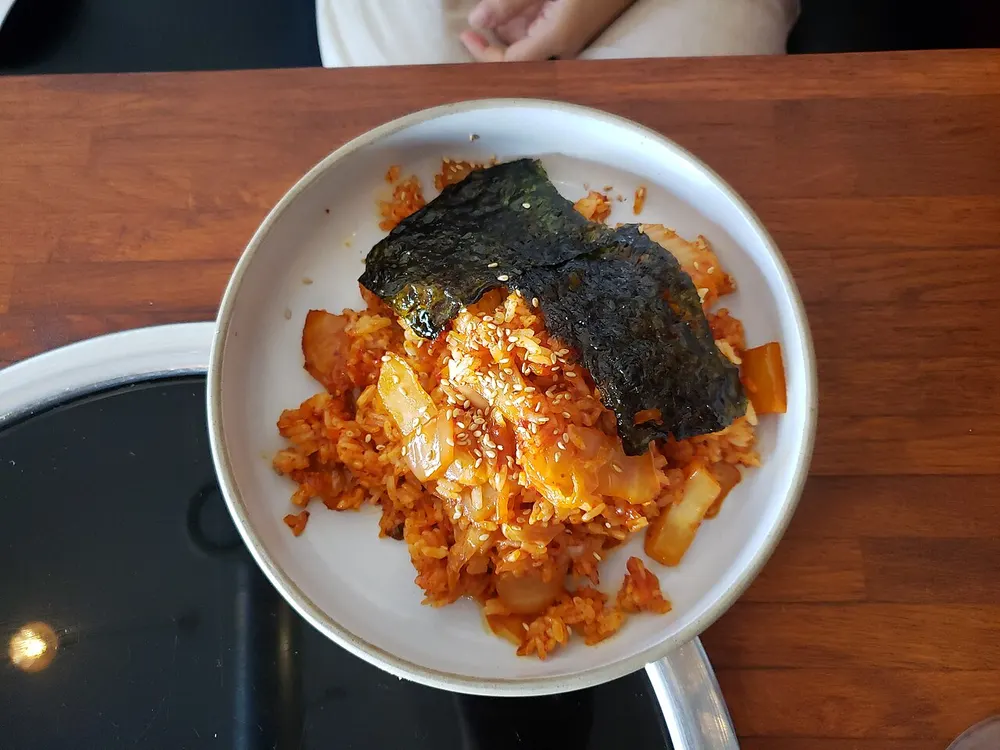
His fix for gluey kimchi fried rice: kill the heat, break the rice apart in the pan off the flame, and only then turn it back on. Sausage, sugar scorched into the pan, and a fried egg on top.
Source
Recipe by 백종원 · 👨🍳 Chef · Paik Jong-won — chef & restaurateur, 백종원의 요리비책
Names of cooks and creators appear as source credit only. More Recipes Please is independent and is not affiliated with, endorsed by, or sponsored by them.
Paik Jong-won (요리비책) — Published by Paik Jong-won on his own YouTube channel under a title that translates as 'the unexpected trick to kimchi fried rice that never turns gluey'. The trick he is referring to is step 8: he takes the pan off the heat entirely before adding the rice and breaks the grains apart with a ladle, only returning it to a high flame once every grain is separate.
Cook: 백종원
Watch it being made
Halve the green onion lengthways and slice it finely. Slice the sausages thinly.
Snip the kimchi small with kitchen scissors, straight into a bowl.
💡 Scissors, not a knife and board — less mess, and you can cut it far smaller. Small pieces spread through every spoonful instead of landing in clumps.
Heat the cooking oil in a pan over medium heat, add the green onion and sausage, and fry until the sausage edges are golden and the oil smells strongly of scallion — about 2–3 minutes.
When the sausage has gone golden, add the sugar and keep it moving so it melts and catches slightly on the pan.
💡 Same principle as his pork stir-fry: sugar first, on the bare hot pan, so it lightly caramelises. It is not there to make the rice sweet.
The moment the sugar smells toasty, add the soy sauce and stir-fry it in.
When the liquid has cooked off and the pan looks dry again, add the kimchi and turn the heat down to low.
💡 Low heat, and give it time — 3–4 minutes. Kimchi needs to lose its raw edge and go slightly translucent. Rushing this on high heat scorches the chili and leaves the kimchi tasting sharp.
Add the fine gochugaru and stir it through. If the seasoning is clumping together, splash in a spoonful of water and keep going.
Now TURN OFF THE HEAT. With the pan off the flame, add the rice and press and push it apart with a ladle until every grain is separate and evenly red.
💡 This is his headline trick and the reason this recipe exists. Rice added to a hot pan seizes into sticky lumps the second it lands, and mashing it then only makes glue. Off the heat there is no rush and no sticking.
Once the rice is completely broken up, put the pan back on high heat and stir-fry 2–3 minutes, tossing, until the grains look dry and separate and you hear them start to crackle against the pan.
Slide the fried rice onto a plate and mound it up.
Wipe the pan, add a little oil, and fry the egg over medium heat until the white is set and the edges are lacy and brown but the yolk is still runny.
Lay the egg on the rice, scatter over the seaweed flakes and ground sesame, and eat at once — breaking the yolk into the rice as you go.
Korean
Source: Traditional
Korean
Source: Home cook
Korean
Source: Home cook
Korean
Source: Traditional
Made this? Share a photo in Showcase.
Share your creation →